How to Run Terraform in Buildkite CI?


What is Buildkite?
Buildkite is a powerful CI/CD platform designed for flexibility. It enables development teams to automate their build, test, and deployment processes using a customizable pipeline. One of Buildkite's features is its ability to run self-hosted agents, which can be deployed on any infrastructure, including on-premises servers, data centers, or cloud environments. This ensures that organizations have full control over their build environments and resources.
Key Features of Buildkite
Buildkite can manage large volumes of build and test jobs, making it suitable for both small development teams and large enterprises with complex CI/CD needs. The platform supports custom pipelines and a wide range of programming languages and frameworks, making it easy to integrate into various project workflows. By running agents on your own infrastructure, you maintain control over the build environment, security configurations, and resource allocation. With self-hosted agents, sensitive data remains within your infrastructure, enhancing security and compliance with organizational policies.
Using Buildkite CI with Digger for Terraform
Leveraging Buildkite as a CI backend for running Terraform with Digger allows for efficient infrastructure management through a streamlined CI/CD process. Here's how you can set up and run Terraform in Buildkite CI using Digger.
Prerequisites
Before you start, ensure you have the following:
- A valid Digger EE license key: If you don't have a license key, contact Digger to request an EE trial.
- A Buildkite account: Make sure your Buildkite CI agent is set up to receive jobs.
Install the Digger EE Orchestrator
Installing the Digger EE orchestrator is similar to self-hosting Docker, with a few differences:
- Use the EE Docker image from Digger's GitHub packages.
- Follow the steps in the self-hosting guide to set up the orchestrator and install the GitHub app. Ensure the repository you wish to use with Digger is installed onto the orchestrator.
Define the following environment variables for Buildkite CI configuration:
DIGGER_CI_BACKEND=buildkite
BUILDKITE_TOKEN=bkua_xxxxxxxxxxx
BUILDKITE_ORG=myorg
BUILDKITE_PIPELINE=my_digger_pipeline
Set the license key environment variable for both the backend and CLI:
DIGGER_LICENSE_KEY=xxxyyy
Install Digger CLI in Your Buildkite Agent
To install the Digger CLI on the Buildkite agent, download the appropriate binary from the Digger releases page. For example:
curl -L -o digger-ee https://github.com/diggerhq/digger/releases/download/vLatest/digger-ee-cli-{OS}-{ARCH}
chmod +x digger-ee
mv digger-ee /usr/local/bin/digger
Prepare Your Repository with a digger.yml
Configure your Terraform projects with a digger.yml file. Refer to Digger's quickstart guides for detailed instructions. A basic example is shown below:
projects:
  - name: dev
    dir: dev/
Create a Digger Pipeline in Your Buildkite Setup
- Create the Buildkite pipeline: Associate it with your repository, and provide a name and description.
Add pipeline steps: Add a step to invoke Digger:
steps:
  - command: digger run_spec --spec "$DIGGER_SPEC"
Set environment variables: You only need to set your Digger license key:
export DIGGER_LICENSE_KEY=xxxyyy
This command instructs Digger to run the specification composed and sent from the backend.
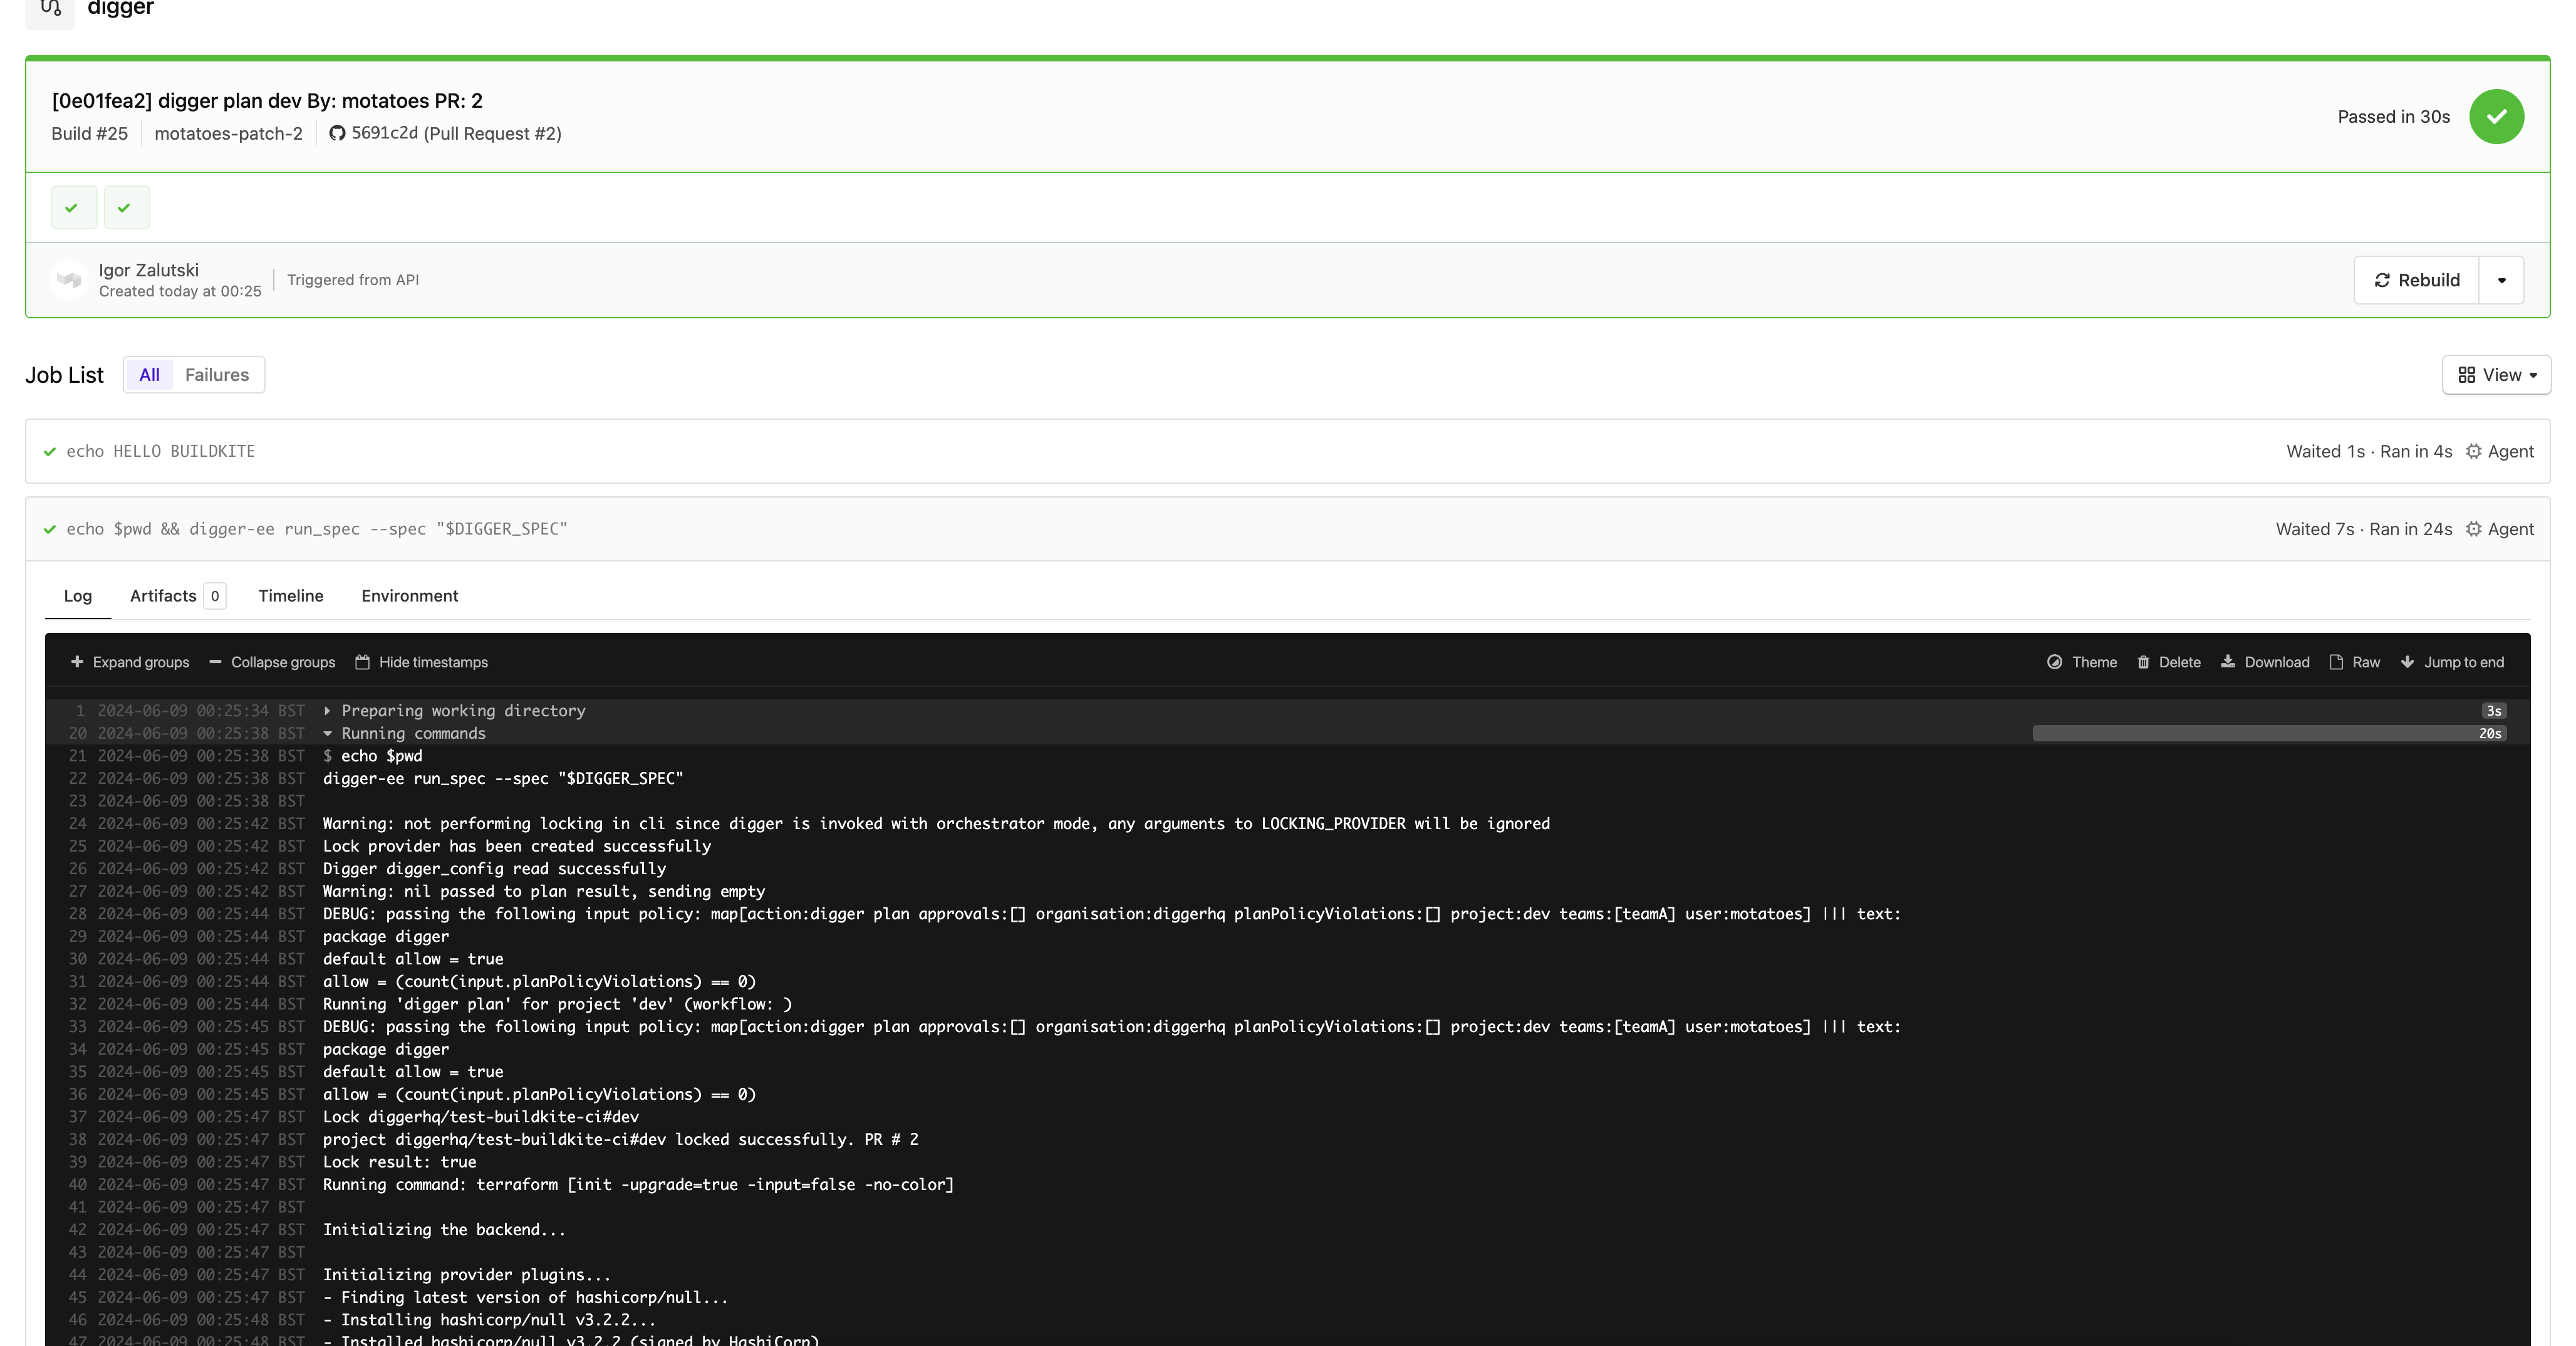
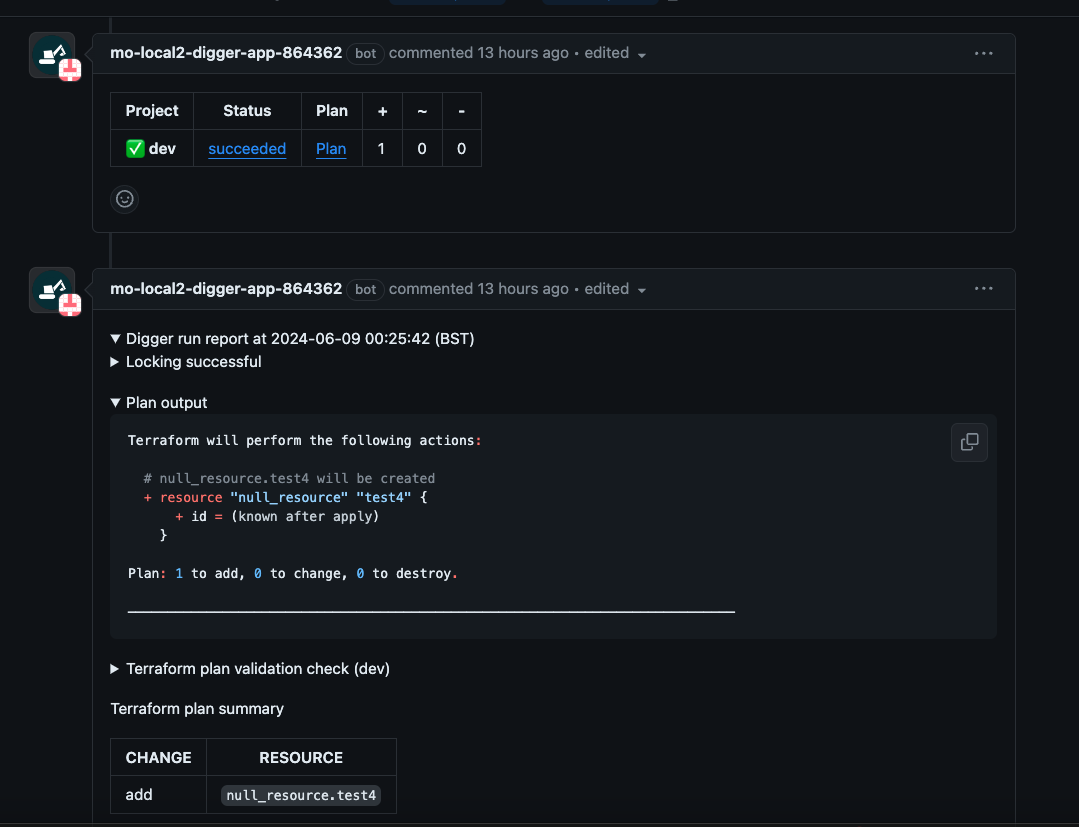
Test Your Setup
To test your setup, create a pull request in your repository. Monitor the backend logs for a webhook event and an initial comment in your pull request. Your Buildkite pipeline should trigger and perform a Terraform plan.
By following these steps, you should have a fully functional setup for running Terraform in Buildkite CI with Digger. This setup will enable you to efficiently manage your infrastructure as code, leveraging the power of both Buildkite and Digger.